It’s here! The Healthy Heart Weekend. It’s not too late to sign up, either.
Don’t forget to send me your picture along with what you did to javaqueen01 (@) yahoo.com by Monday so I can compile them.
I finished the stripes in the bathroom and thought you might like to see how I did them. It actually wasn’t that hard. The base color needs to be dry for at least 24 hours before doing the stripes so you don’t pull paint off the wall from the tape.
The first thing you need to do is measure all the walls so you can figure out how many inches wide to make your stripes. From the reading I did, most stripes are between 4 and 12 inches for the best look. All but one of my walls was easily divisible by 7, so that was the width I used for my stripes. I marked every 7 inches along the bottom of the wall with a pencil. I fudged the measurement for 1 stripe that was underneath the window to make up for the one wall that had a couple extra inches. It’s not even noticeable, either.
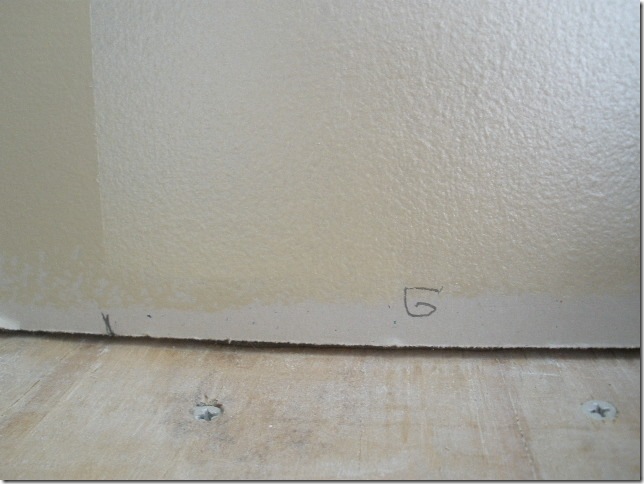
Then I marked every other space with a G to signify which ones were getting the gold stripe.
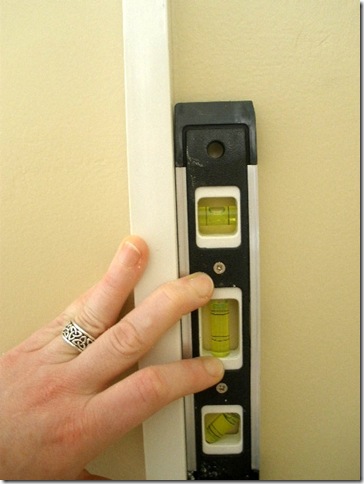
Obviously I took this picture after I painted. Now this would be really easy if I had a laser level, but I don’t, so I took a straight edge and a little level to make a mark on the wall above each mark on the floor to line up the tape.
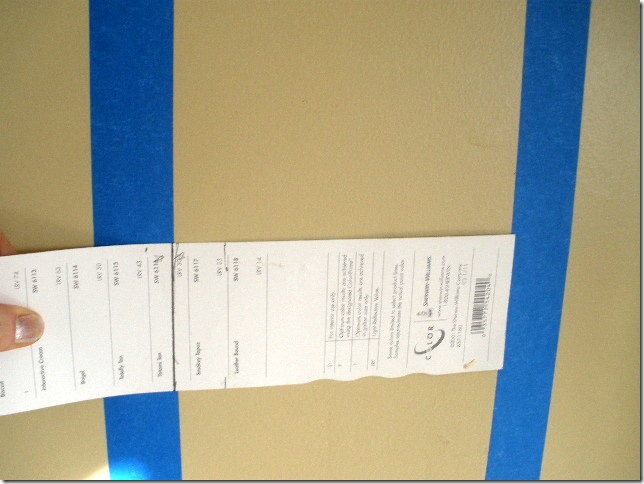
I also made a little card marked off at 7 inches to help me keep the spacing even – this was the handiest thing, it turns out. It made the process go much faster.
Then start putting on the tape. I checked the top, middle and bottom of the tape with the card just to be sure my stripes weren’t crooked.
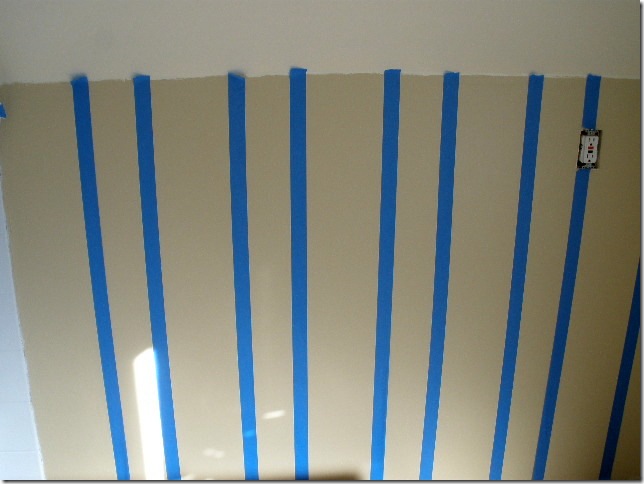
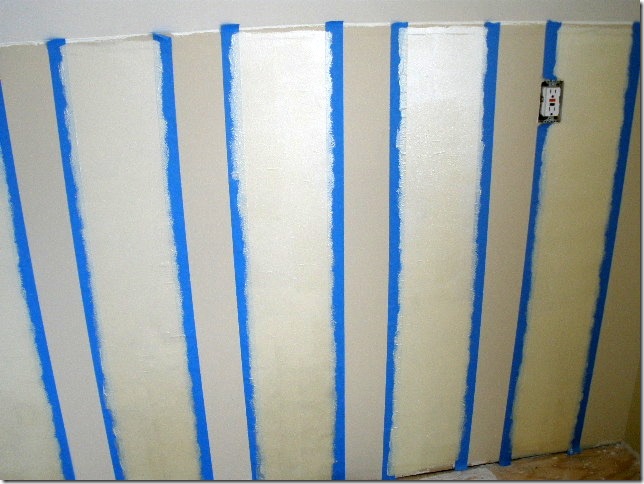
Now the trick with the taping is that you need to make sure you are taping off each stripe equally. This means the tape will be on the outside of the stripe lines you are painting and on the inside of the stripes you won’t be painting. It will look like this:
Does that make sense now? I really checked twice to make sure I was painting correctly. So each of the wider areas are the ones that will be painted. Really press the edge of the tape down, too. That way paint can’t bleed under it and mess up your lines.
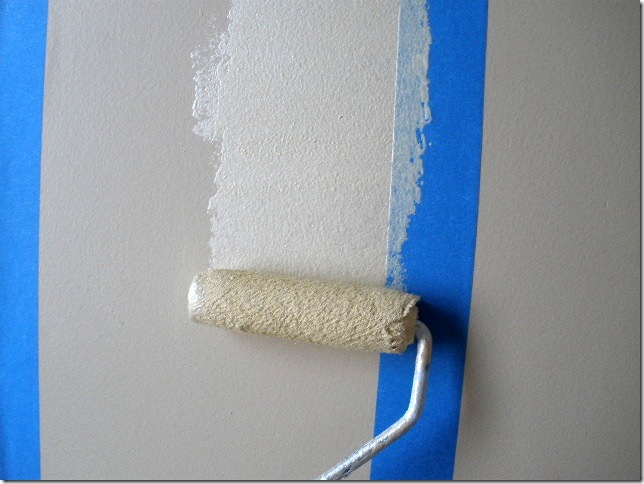
Then paint.
It would be nice to have a roller that was wide enough to go over with one pass, but I could find 6 inch rollers or 9 inch rollers. And my stripes were 7 inches. So, I just used a small one. You want to paint over the edge of the tape to get a good edge.
This metallic paint is somewhat sheer and dries very quickly. By the time I finished the last stripe, the first one was ready for a 2nd coat. All painted here:
The gold looks really bright because it is still wet. It’s a bit more subtle.
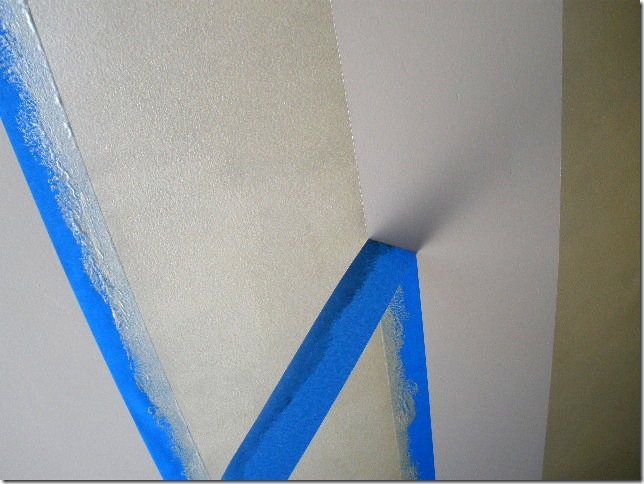
Then you want to pull the tape from the wall at an angle towards the stripe for a clean edge.
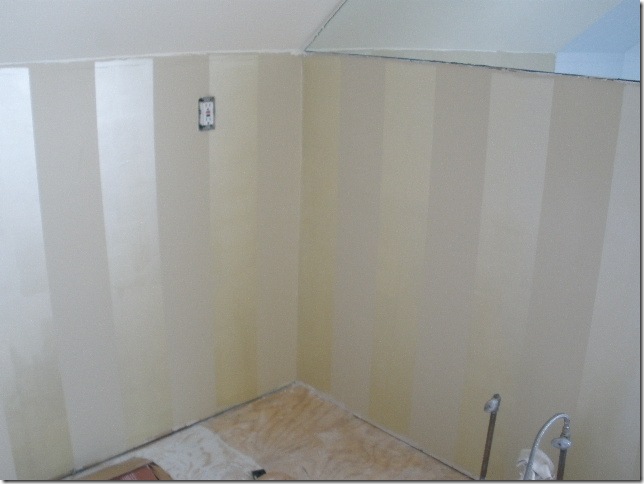
And voila! Stripes!
I am putting a chair rail at the top of the stripes around the room. I can’t wait to see that part. All in all, stripes weren’t that hard. I have to say that I don’t want to look at any blue painter’s tape for a while. It is a little time consuming to do, but fun. I don’t know if I would want to try a floor to ceiling stripe unless I had a laser level and another pair of hands.
Next up? Flooring!


Ooh, I like it! I’m eager to see the chair rail, too!
When I’m working with the tape, I like to use a spoon or an old credit card to smooth down the edges. I hate getting a bleed-through! And aren’t those small levels wonderful? I’m using mine now to hang pictures.
The little level is very handy! It was a Christmas gift to John from one of the nieces. He actually got one last year, too
That looks really good! I always get confused on the inside/outside lines to paint, too…it’s a mind-bender, the way it looks before the tape is removed.
That is very pretty! Looking forward to the flooring! I’m so glad that you are doing the work instead of me!
You were going for luxe and luxe is what that gold paint delivered, I cannot wait to see the finished room!
Gorgeous! I can’t wait to see the finished product! I said 10k, so 10k it is today!
Great tutorial Lori! Thanks so much for that. Cannot wait to see it all finished !
Hugs!deb
This looks awesome!!!!
BTW, I know you and your family do game nite. We just played this and it was so fun: http://www.storycubes.com/ I got it at Target.
You are simply amazing! I am SOOOOOOO not a homebody type person! I hope I remember to take my pic Sunday after my run!
You have great patience!
Lori,
I can hardly wait to see the next steps. These stripes turned out lovely. Oh, and the tile is definitely blue!
Just a quick note – if you have an iphone there is a free app for a level. It’s very cool and you always have it with you:) Have a sunny weekend
Great job Lori! I suck at painting! It’s going to look great when it’s done
Hi Lori! You make the painting of stripes a lot easier than it really is. Obviously, you are talented.
You are so talented Lori! I sent you a picture for the Heart Healthy weekend – hope your weekend was great!
oh my goodness.
I must ask again: is this all very relaxing to you? why do I think it would make me a…bundle of frazzle!!